|
 |
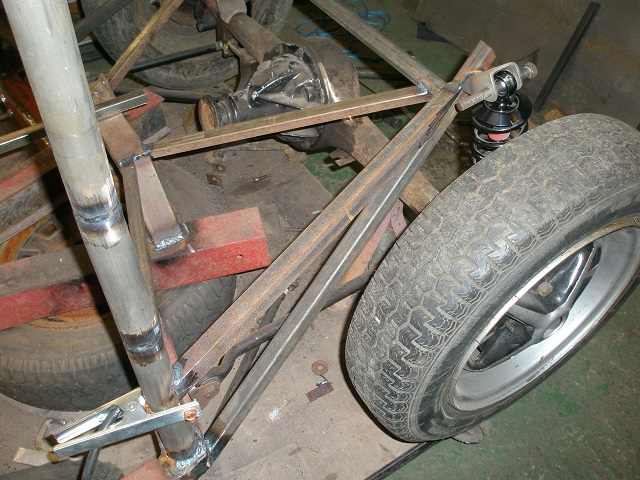 |
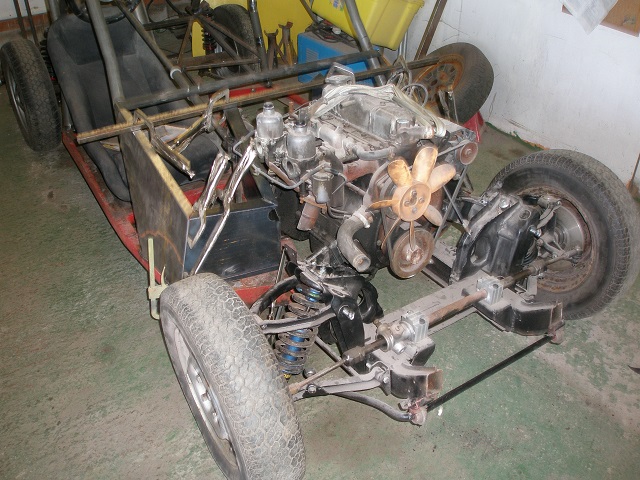
The pictures on the left show the
start of the fabrication work on the rear of the Triumph Herald chassis.
The first job was to establish just how long the new radius arms needed
to be and fabricate the supports for the top of the spring and damper
assemblies. |
|
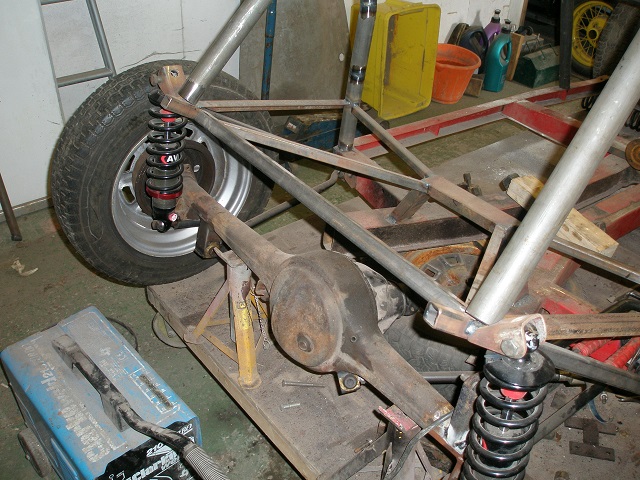
Having hung the new rear axle
assembly onto the chassis in the correct place it was then necessary to
add the strength needed to allow the new suspension to work in the was
it was designed to work. At this point I was also thinking about
torsional rigidity of the newly modified chassis, the thought occurred
to me that I could use a roll cage to support the rear of the chassis
and with the addition of a fabricated transmission tunnel and fabricated
driver and passenger foot wells could not only regain any lost strength
but actually enhance the structure of the (now) space frame chassis.
All the main chassis fabrication
was done using a TIG welder.
|
 |
|
 |
 |
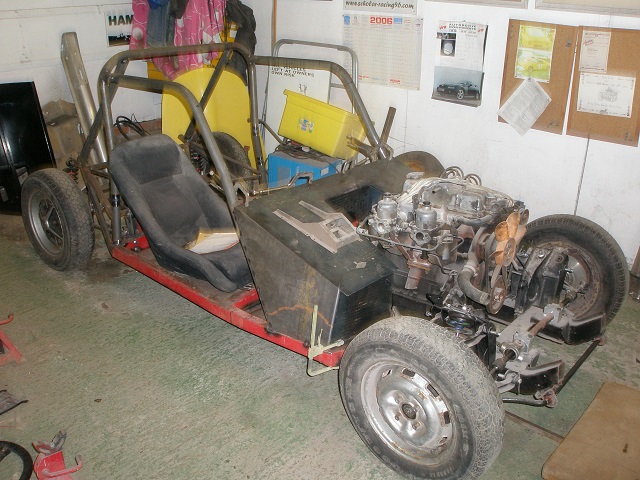
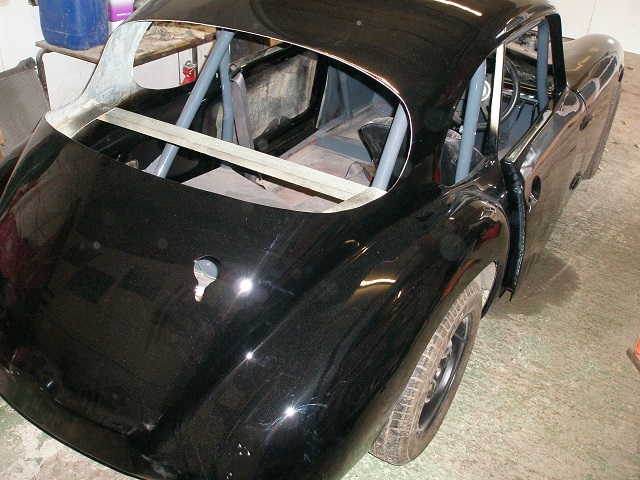
The pictures on the left show the
basic roll cage and foot well panels being fabricated.
At this point we also swapped the
Triumph uprights from side to side, this allows the engine and gearbox
to sit about 8" further back in the chassis for better balance. |
|
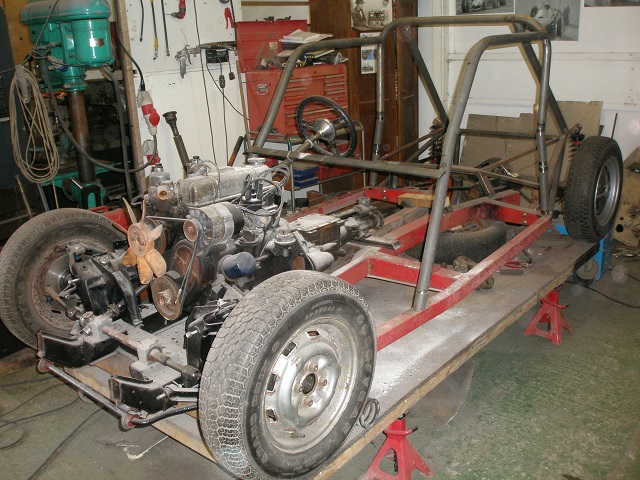
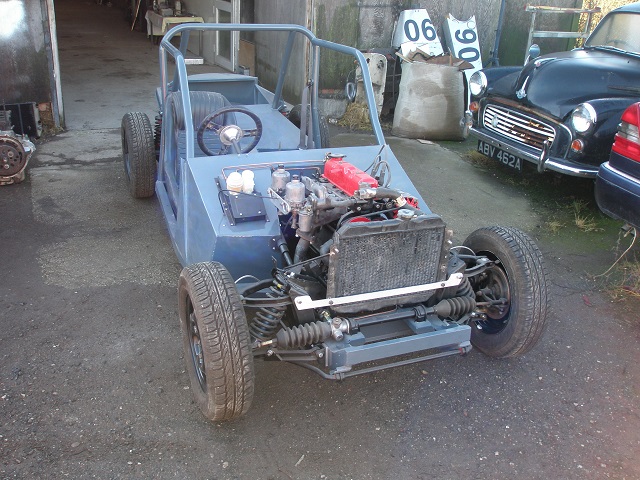
The pictures on the right show the
finished chassis before and after paint.
Far right the rolling chassis has been
built up with all ancillary parts fitted, the engine, gearbox, clutch,
and brakes have been fitted too.
The car currently sits on it own wheels
and is now waiting for the wiring loom to be fitted and terminated
before being fired up and tested. |
 |
 |
|
Now we have a more or less finished chassis the
time has come to start the long drawn out process of preparing the
bodywork for paint and subsequent re fitting to the chassis. At this
point I decided that since we were going to be using Morris 1000 window
frames in the best traditions of Rochdale Motor Panels that we might as
well use the rest of the door furniture from the Morris too.
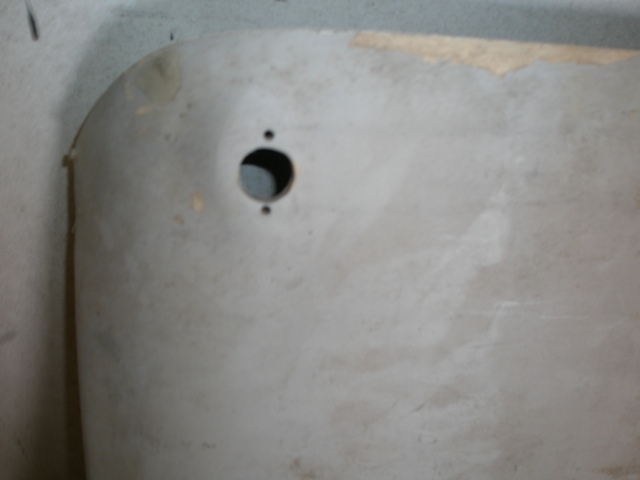
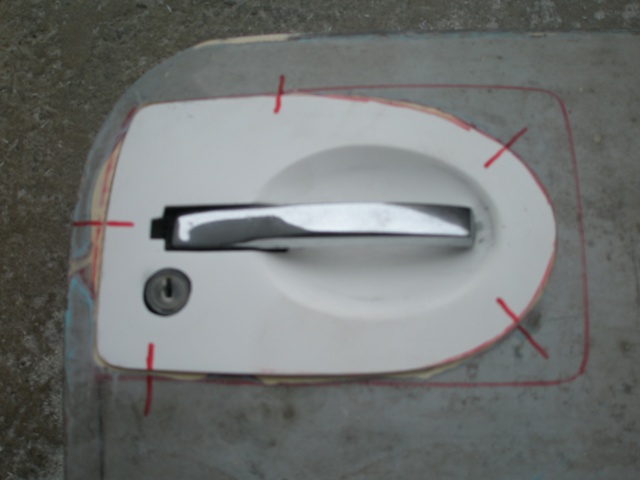
As simple as it sounds we did have
to modify the GT doors to take the Morris 1000 door handles, the series
of pictures below show how this was done.
|
|
|
 |
 |
|
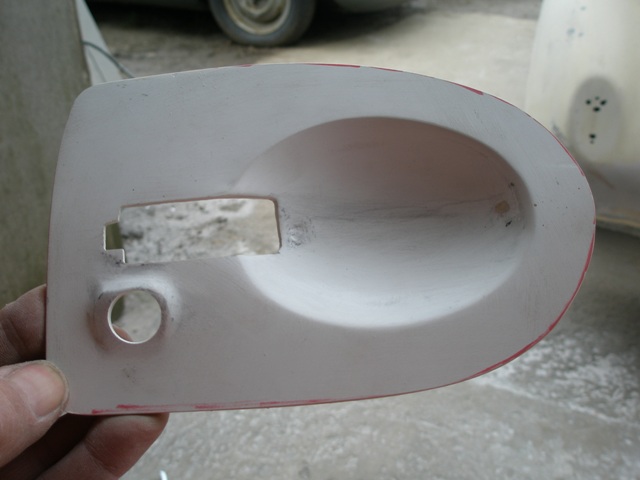
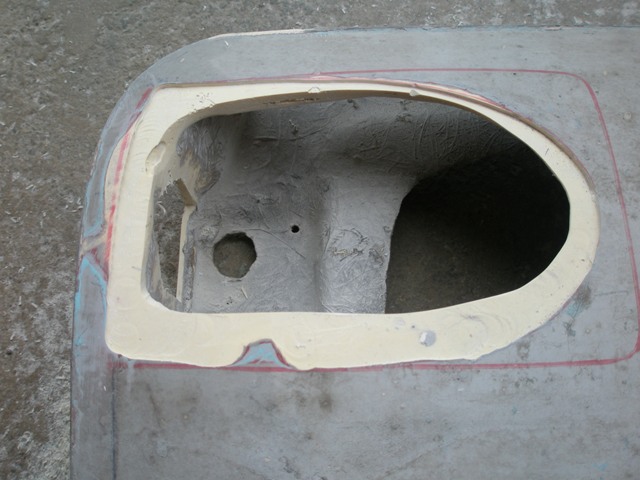
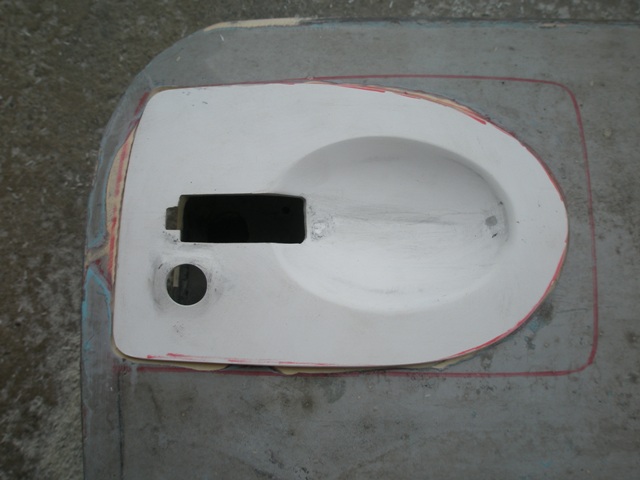
The first job is to take a mould from the inside of
the Morris 1000 door skin, two of these would be needed, one for each
door. The next stage is to cut out a portion
of the GT door skin (in the correct position) to accommodate the newly
manufactured repair panel. This hole is then recessed so that the repair
panel sits flush on the outside of the door. It is then bonded into
place as can be seen on the right and below |
 |
|
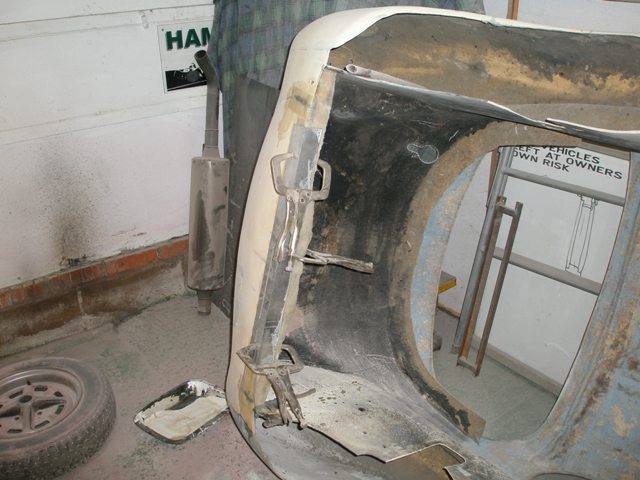 |
With the door modifications done we
can start to finish the preparation of the main body shell for painting
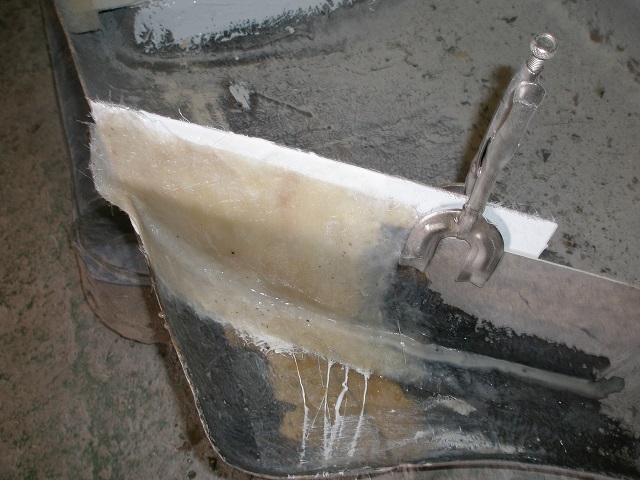
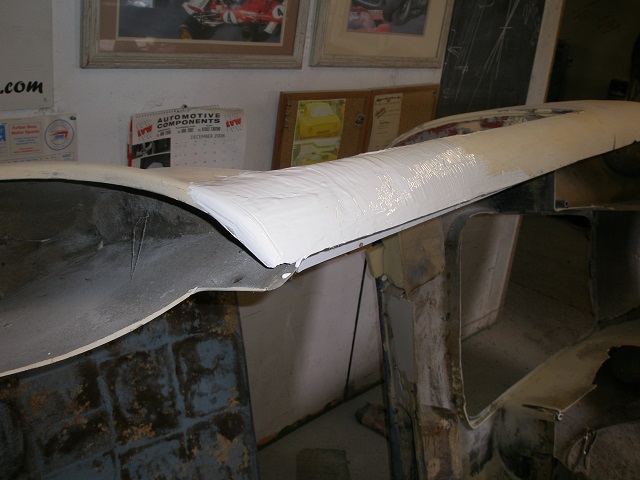
and refitting. We mould into
the body any extra strengthening pieces which are necessary, in this
case I decided that the front and rear lips needed to be strengthened so
that they could be mounted onto the chassis without cracking or
distorting. The picture on the left shows this process being done while
the shell is still light enough to be manhandled easily. |
 |
|
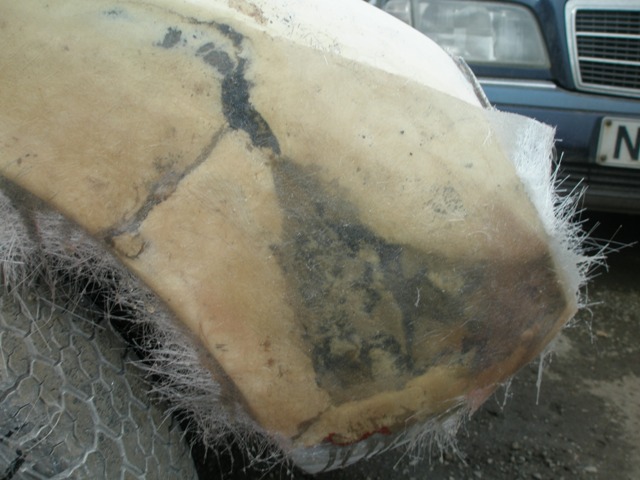
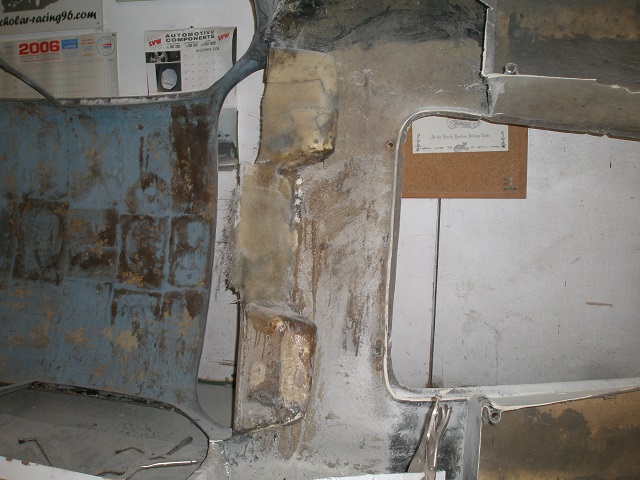
Below are a few detailed pictures
showing the repairs we had to make to the underside of the GT body shell
before we could carry on to prepare it for painting. |
|
 |
 |
 |
|
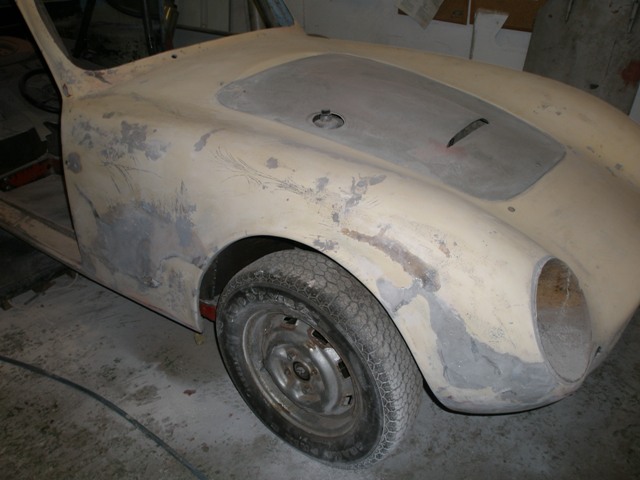
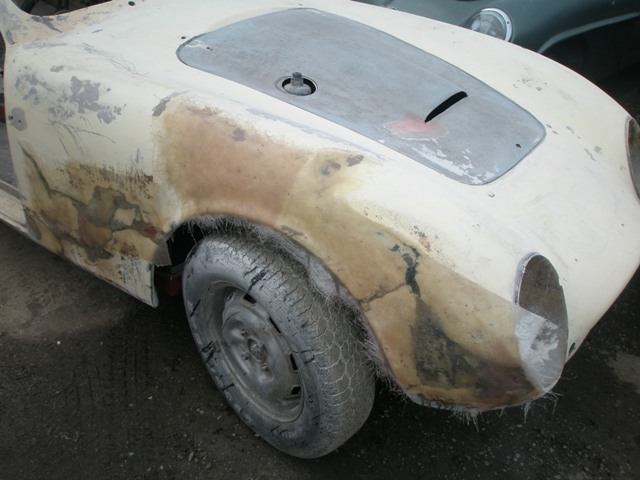
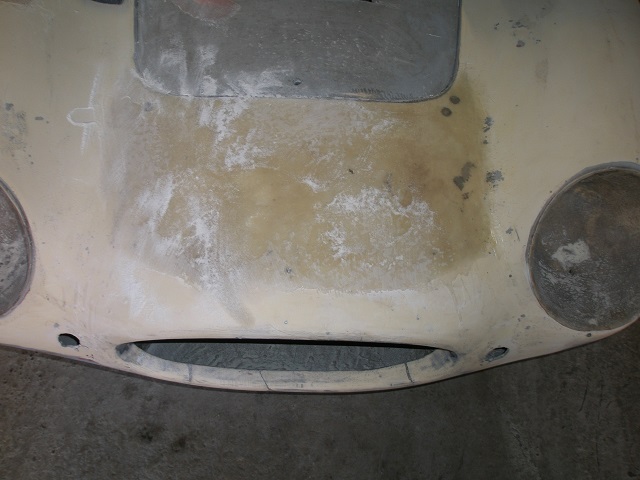
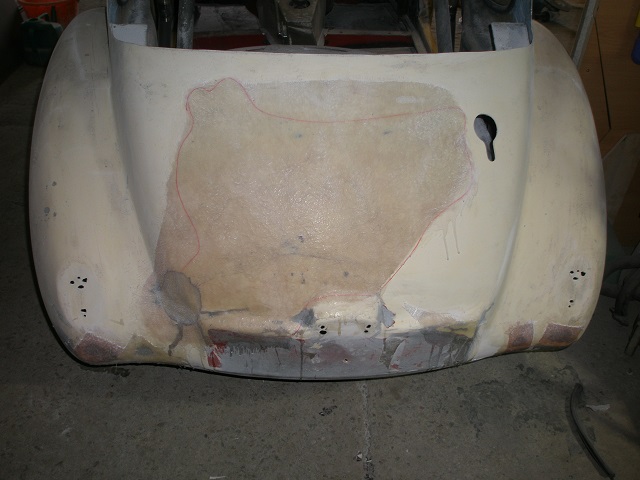
Below a few detailed pictures of
the body repairs on the outside of the GT shell. |
|
 |
 |
 |
|
|
|
|
|
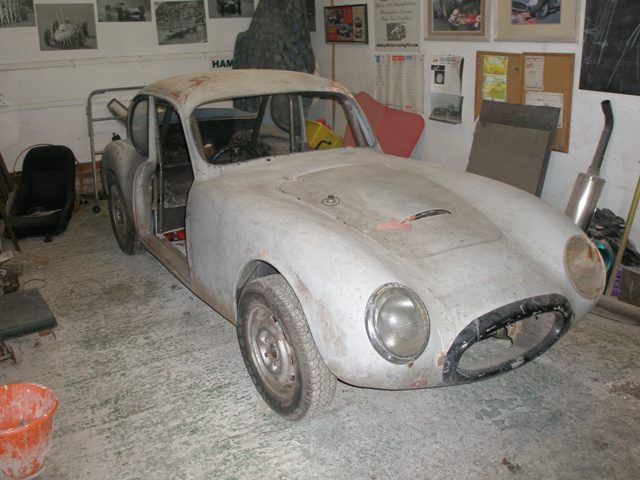
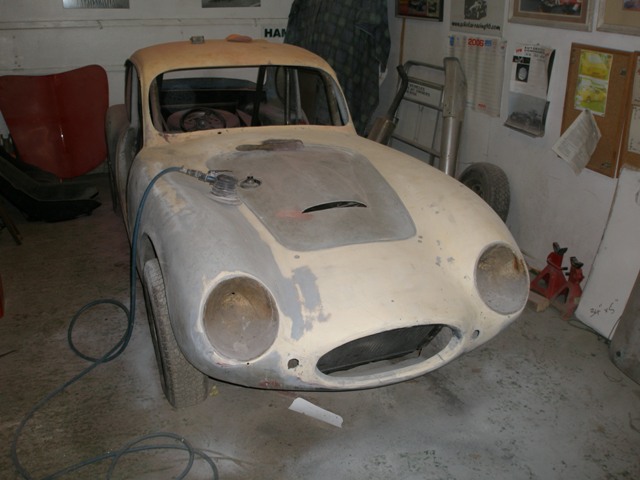
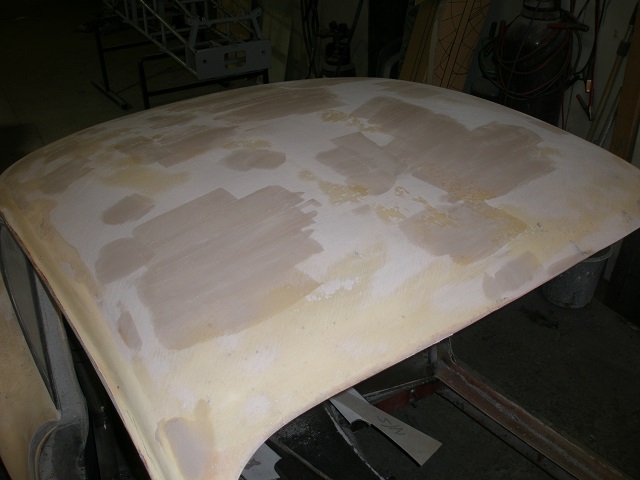
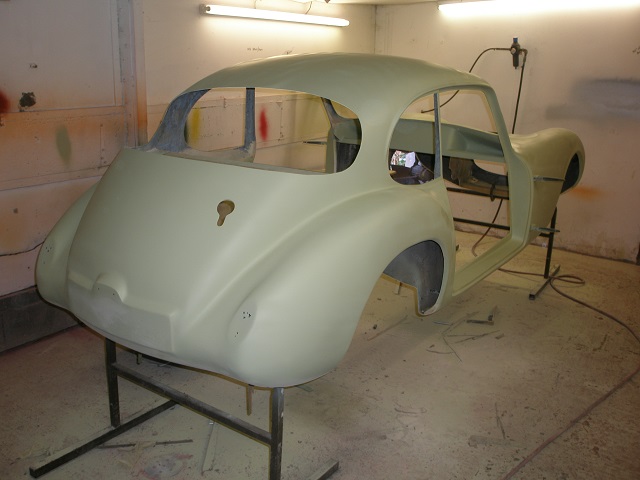
After the extensive repair work we
had to do to the GT's basic shell, both underneath and on the main body
surface it was nice to finally get down to some good old paint
preparation work.
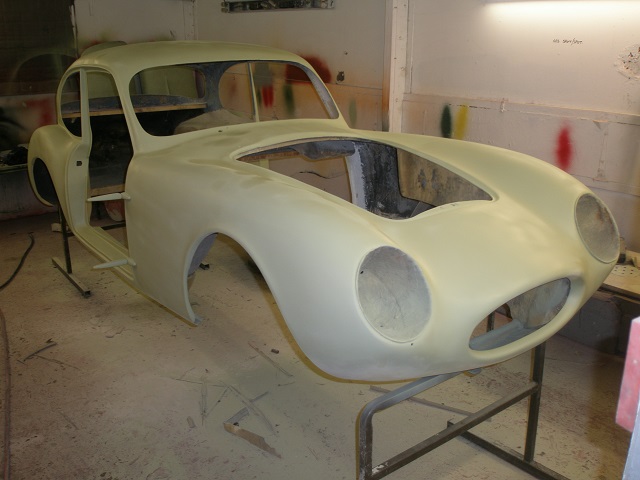
The body was given the normal
treatment and finally finished in high build primer.
At this stage we also decided to
fit the doors to the body shell the final paint colour could then be
applied. |
 |
 |
|
|
|
|
|
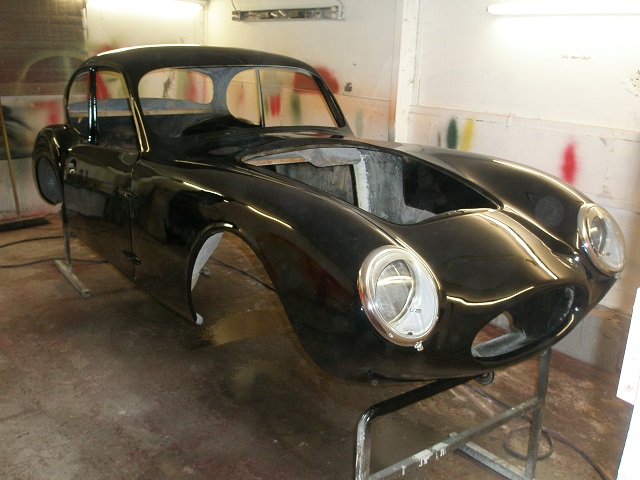 |
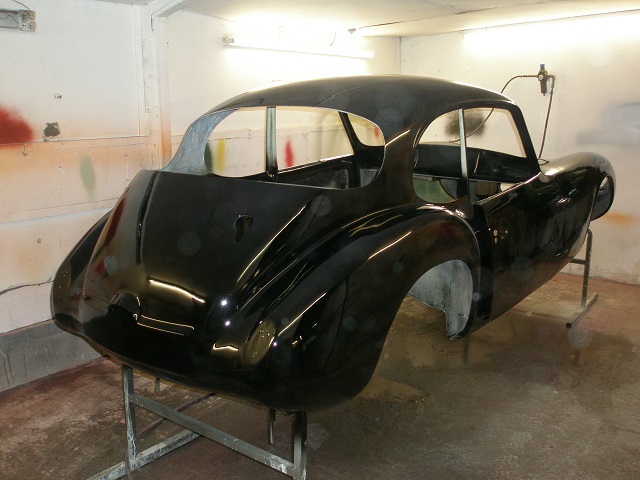
The final coats of finish colour
have been applied and as can be seen from the pictures adjacent the
finished shell looks the part.
Having been asked to do the car in
black I have to admit to a little feeling of trepidation, as black is a
very unforgiving colour on any car let alone one which is almost 50
years old and made of glass fibre. |
 |
|
|
|
|
|
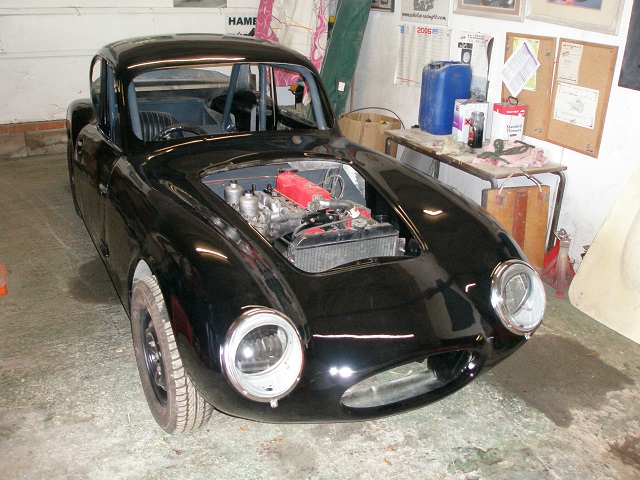
It was now time to mate the two
parts of the car together once again and the question was have we
managed to successfully build a chassis which could take our newly
painted body shell without too much cutting and shutting.
The end result speaks for itself,
yes we managed with a little persuasion to mount the two bits of the car
together and the end result we think is actually quite sweet. |
 |
 |
|
|
|
|
|
|
|
|
|
|
|
|