| Make... | Rochdale. | |
| Model... | Olympic phase 1. | |
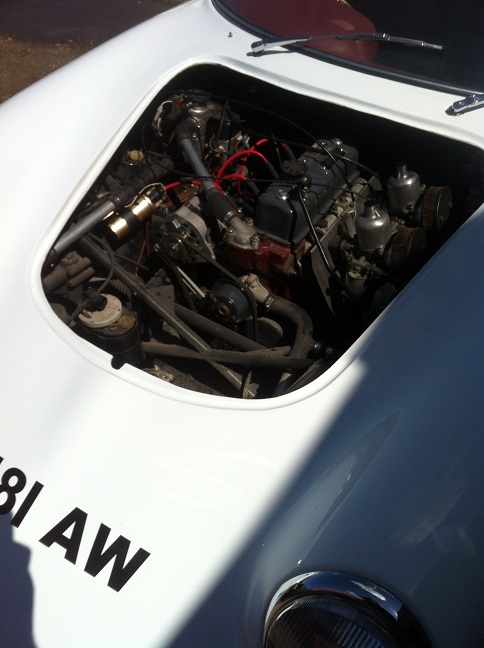
| Engine type and size... | MGA 'B' series, 1622cc Brabham tuned. | |
| Gearbox... | MGA 4 Speed | |
| Brakes... | Front... 11" discs. | |
| Rear... Standard Rochdale Olympic. | ||
| Suspension... | Front, Standard Olympic with optimised geometry. | |
| Rear, Original Olympic trailing link and coil over dampers. | ||
| Wheels and tyres... | To be finalised. | |
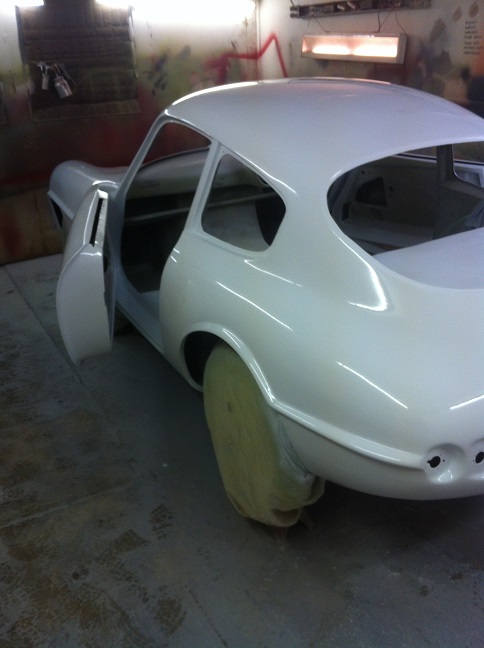
| Exterior... | Ford Frozen white, polished alloy bumpers, chrome trims. | |
| Interior... | To be finalised. |
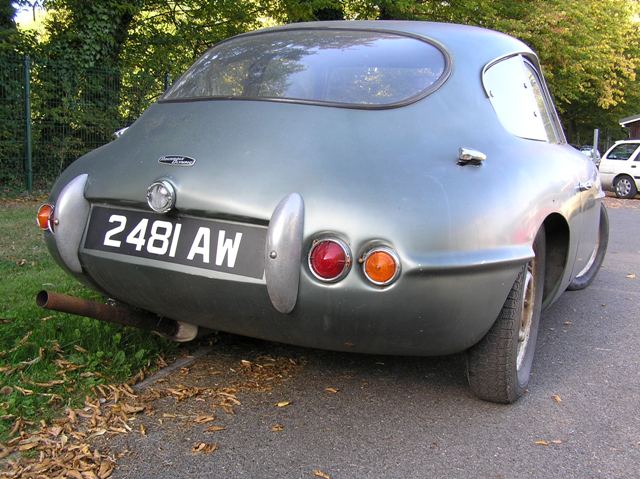
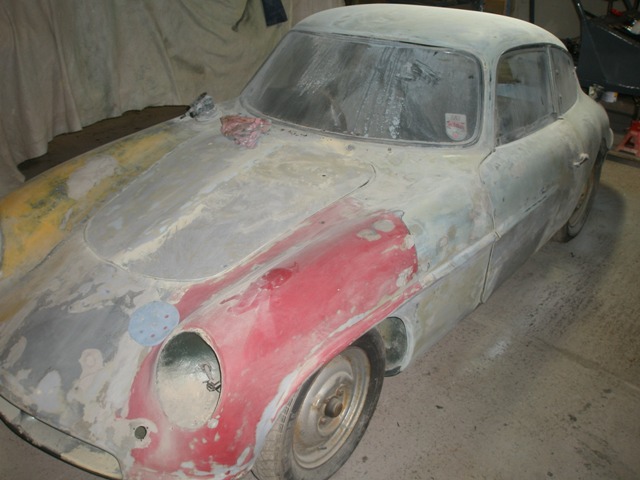
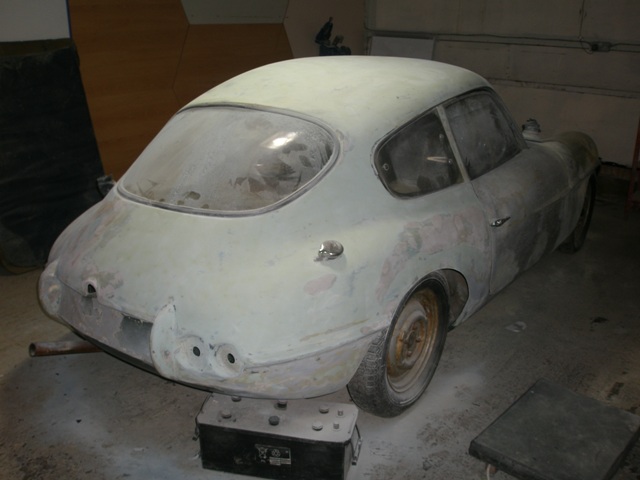
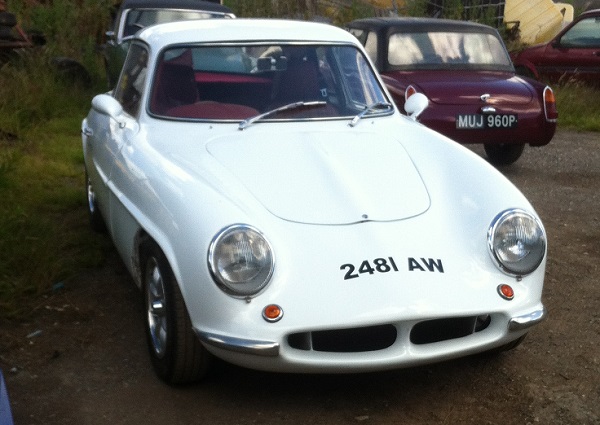
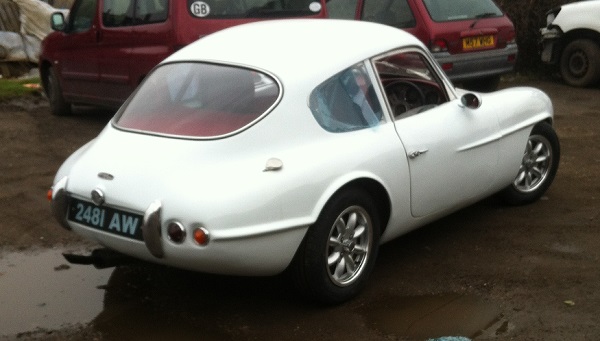
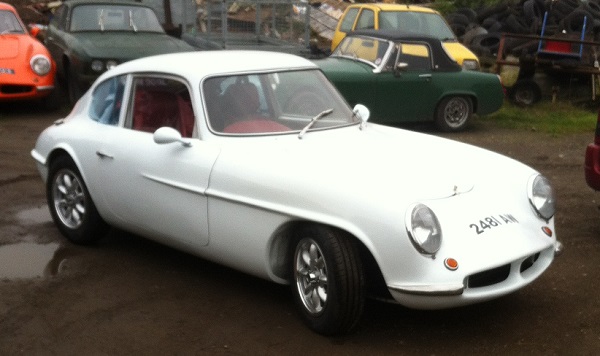
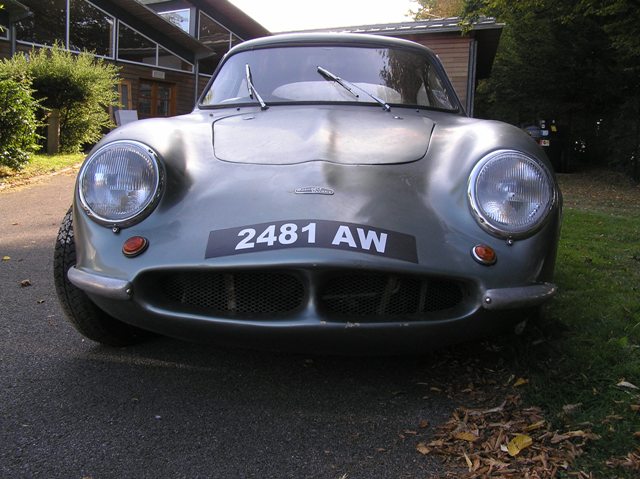
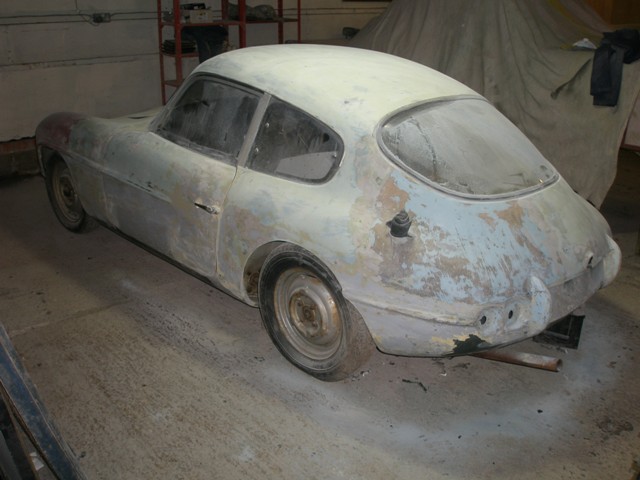
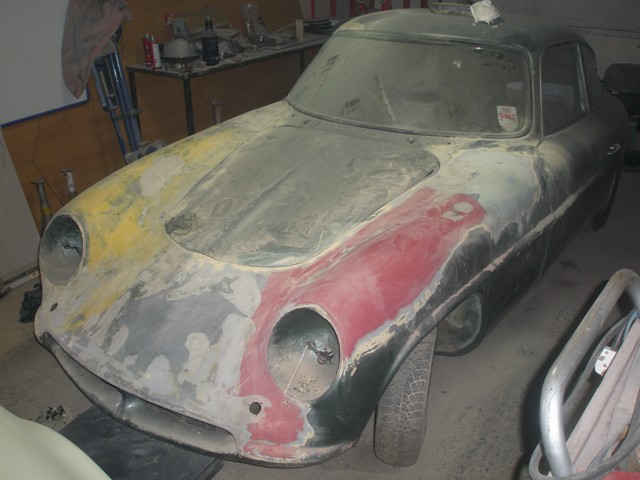
The two pictures above are of the car 'as bought' whilst it looks OK there were signs that it was in need of a thorough looking at. The paint had started to bubble which is generally a sign that the surface underneath the paint requires some work. The rear wheelarches had been badly cut out, and there was evidence of damage to the top of one wing.
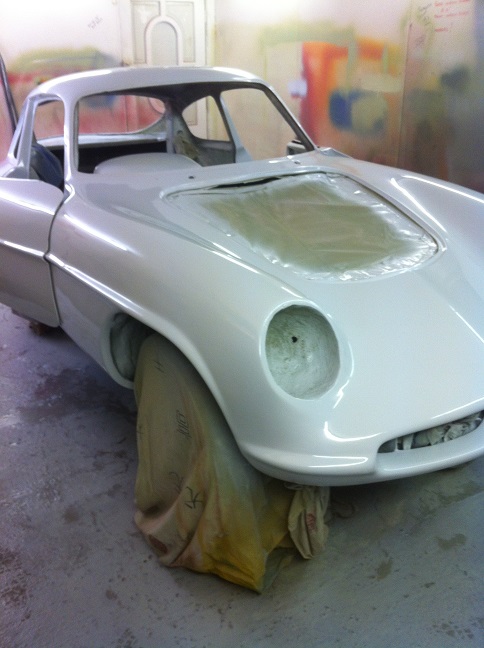
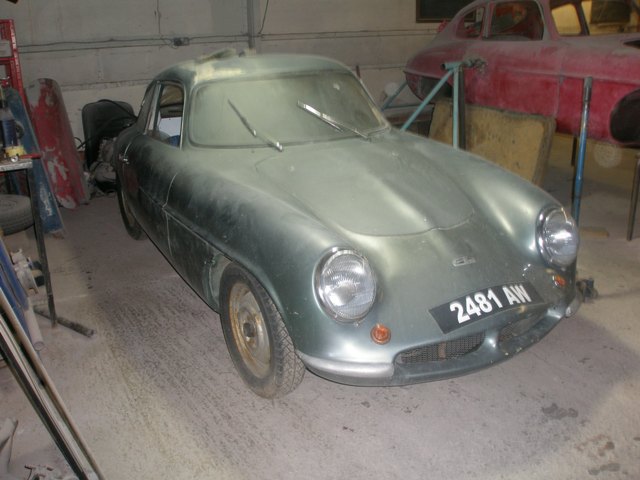
All our restorations start the same way, we take the car into our workshop and remove all the previous paint finishes, in the past this has been as many as 15 different coats of paint. In this instance we had only a few coats of paint to remove but what was underneath did give us a bit of a shock. The damage evident in the top of the offside wing turned out to be as a result of a previous accident, and subsequent repair. As we stripped off more and more paint we started to get a picture of this car's previous exploits.
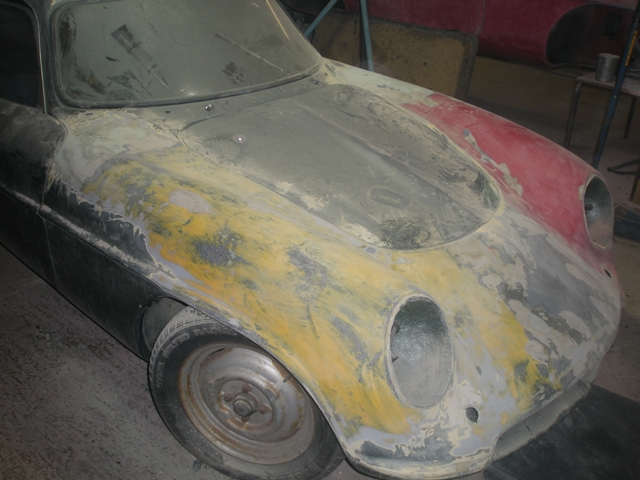
As can be seen from the following set of photos the car had been involved in several fairly severe accidents which required the grafting in of not one, not two but three separate panels. Whilst this in itself isn't a problem the repairs have to be done to a good standard to be safe. Luckily these repairs have in the main stood the test of time and once we have checked them over and re done the parts requiring work the shell will be 'as good as new' once again.
|
|
|
|
|
|
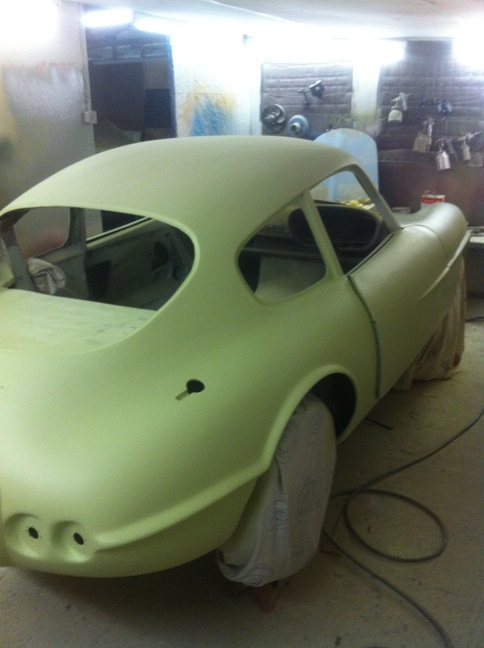
With all the paint removed you can see the task that lies in front of us. The next stage is to remove all the running gear, engine and gearbox, wiring, trim, glass, and anything else which is in the way of us repairing the body to the required standard. In short I guess this is the epitome of a nut and bolt rebuild. |
|